Installation
Thank you for purchasing our kit. The following instructions will help you setup your new City Building Kit version. We've added more features than ever in our latest version. If you have trouble installing, please contact us and we'll help you out.
Remember - Keep Daily Backups!
When working on a strategy game with a kit as big as the Complete Kit - always keep a working daily backup! Save yourself the trouble of rolling-back changes and losing work.
Before You Begin
- Download the City Building Kit
- Expand the zip file
- Download the Standard Assets
- Download the Sound Effects – the sound effects
Compatibility
We recommend that you use Unity Hub in order to download the correct version of Unity Personal or Unity Pro (https://unity3d.com/get-unity/download/).
Video Walkthrough
Before you begin
To begin you need the following
1.	Download the City Building Kit (https://citybuildingkit.com/download)
2.	Expand the zip file
3.	Download the Sound Effects (https://www.dropbox.com/s/h7untzv4fs0vnz3/SFX.unitypackage?dl=0)
The sound effects are a curated set of attributed sounds gathered from different sources which have different licenses. When your game is ready for commercial production, you will need to review the licenses and ensure that you are in compliance.
Instructions:
- Open Unity Hub select the Add button
- Navigate to and pick the folder you just unzipped press Select Folder
The project will open, and you will see a screen like this:
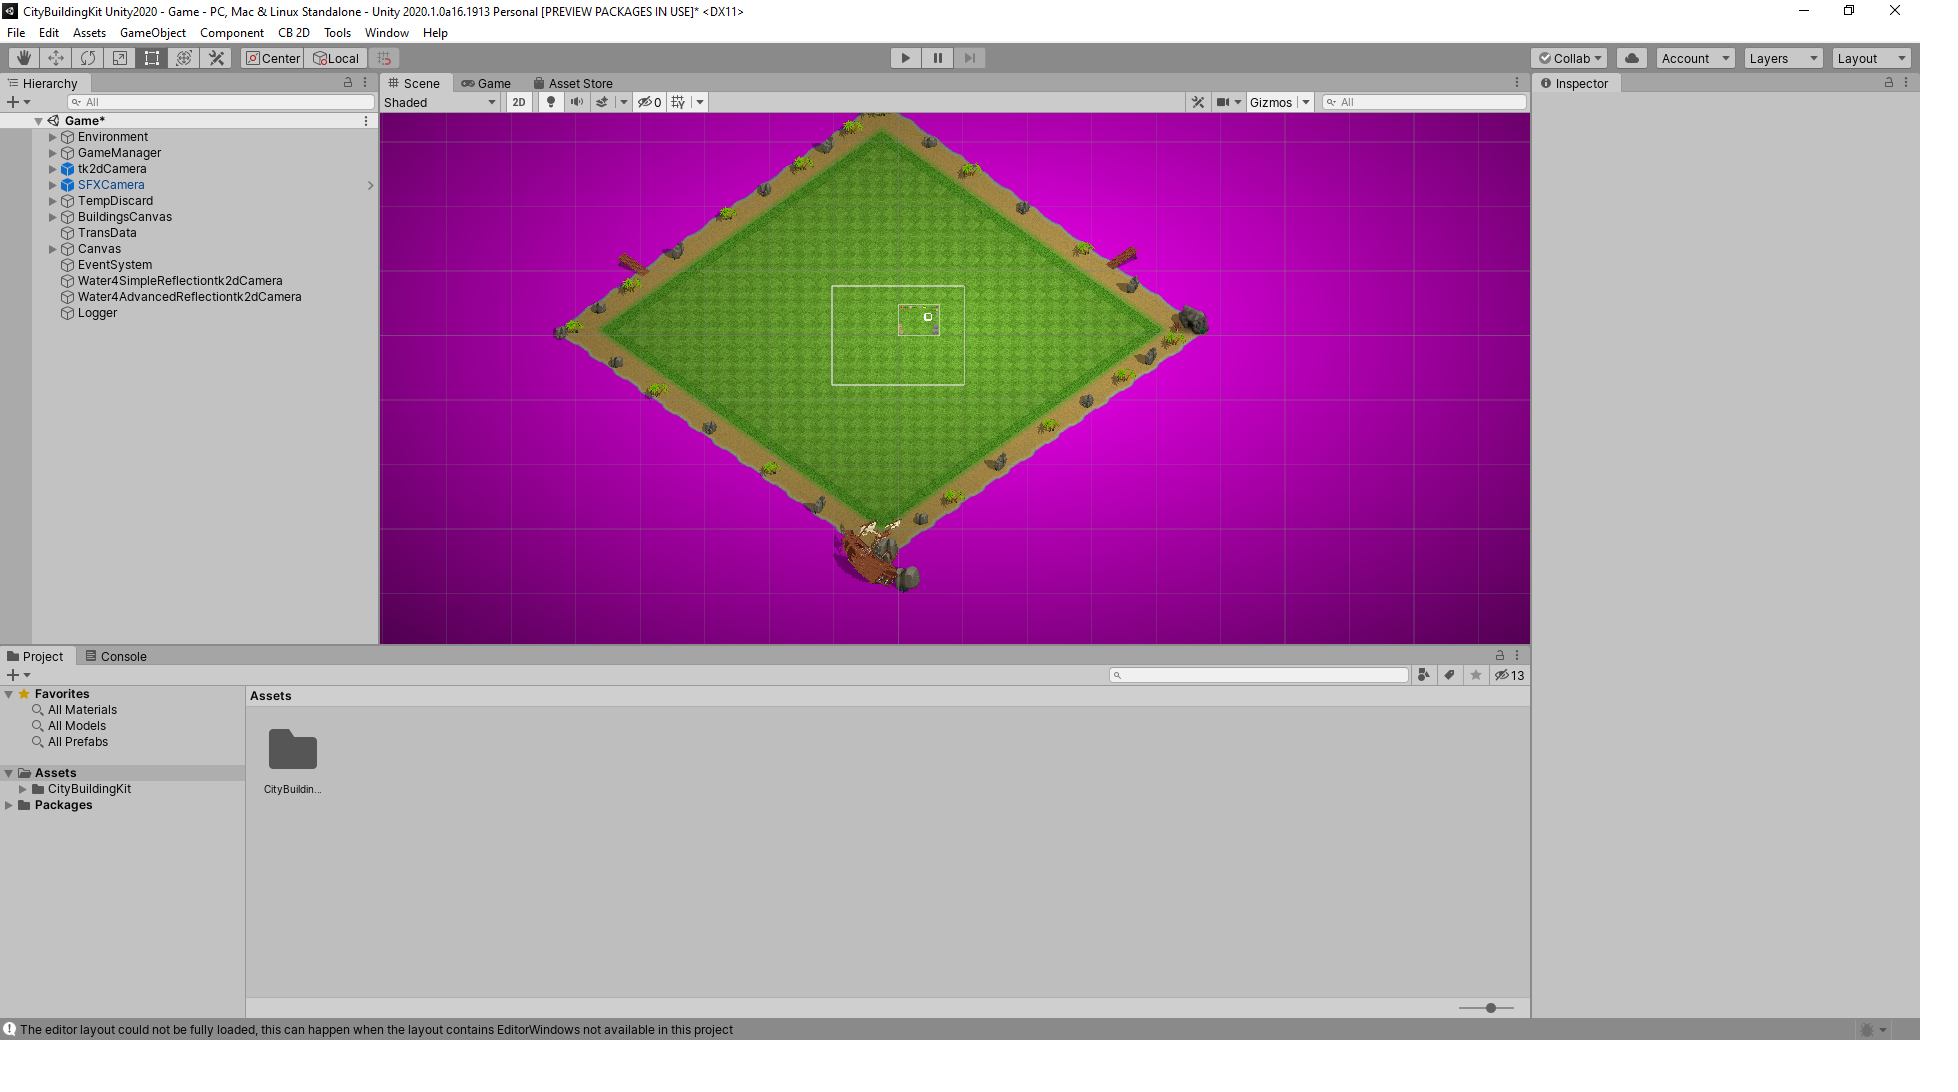
Click on image to view larger
Import Standard Assets
I you have not already retrieved Unity Standard Assets from the Unity Asset Store.
- Open Window -> Package Manager
After importing the assets...
Open the Scenes folder in Assets and click the Game.unity scene. You're ready to run the demo scene! The UILabel compile errors you saw earlier and the pink color should be gone so long as NGUI and 2DToolkit have both been properly imported. You should see the green checkerboard from the game.
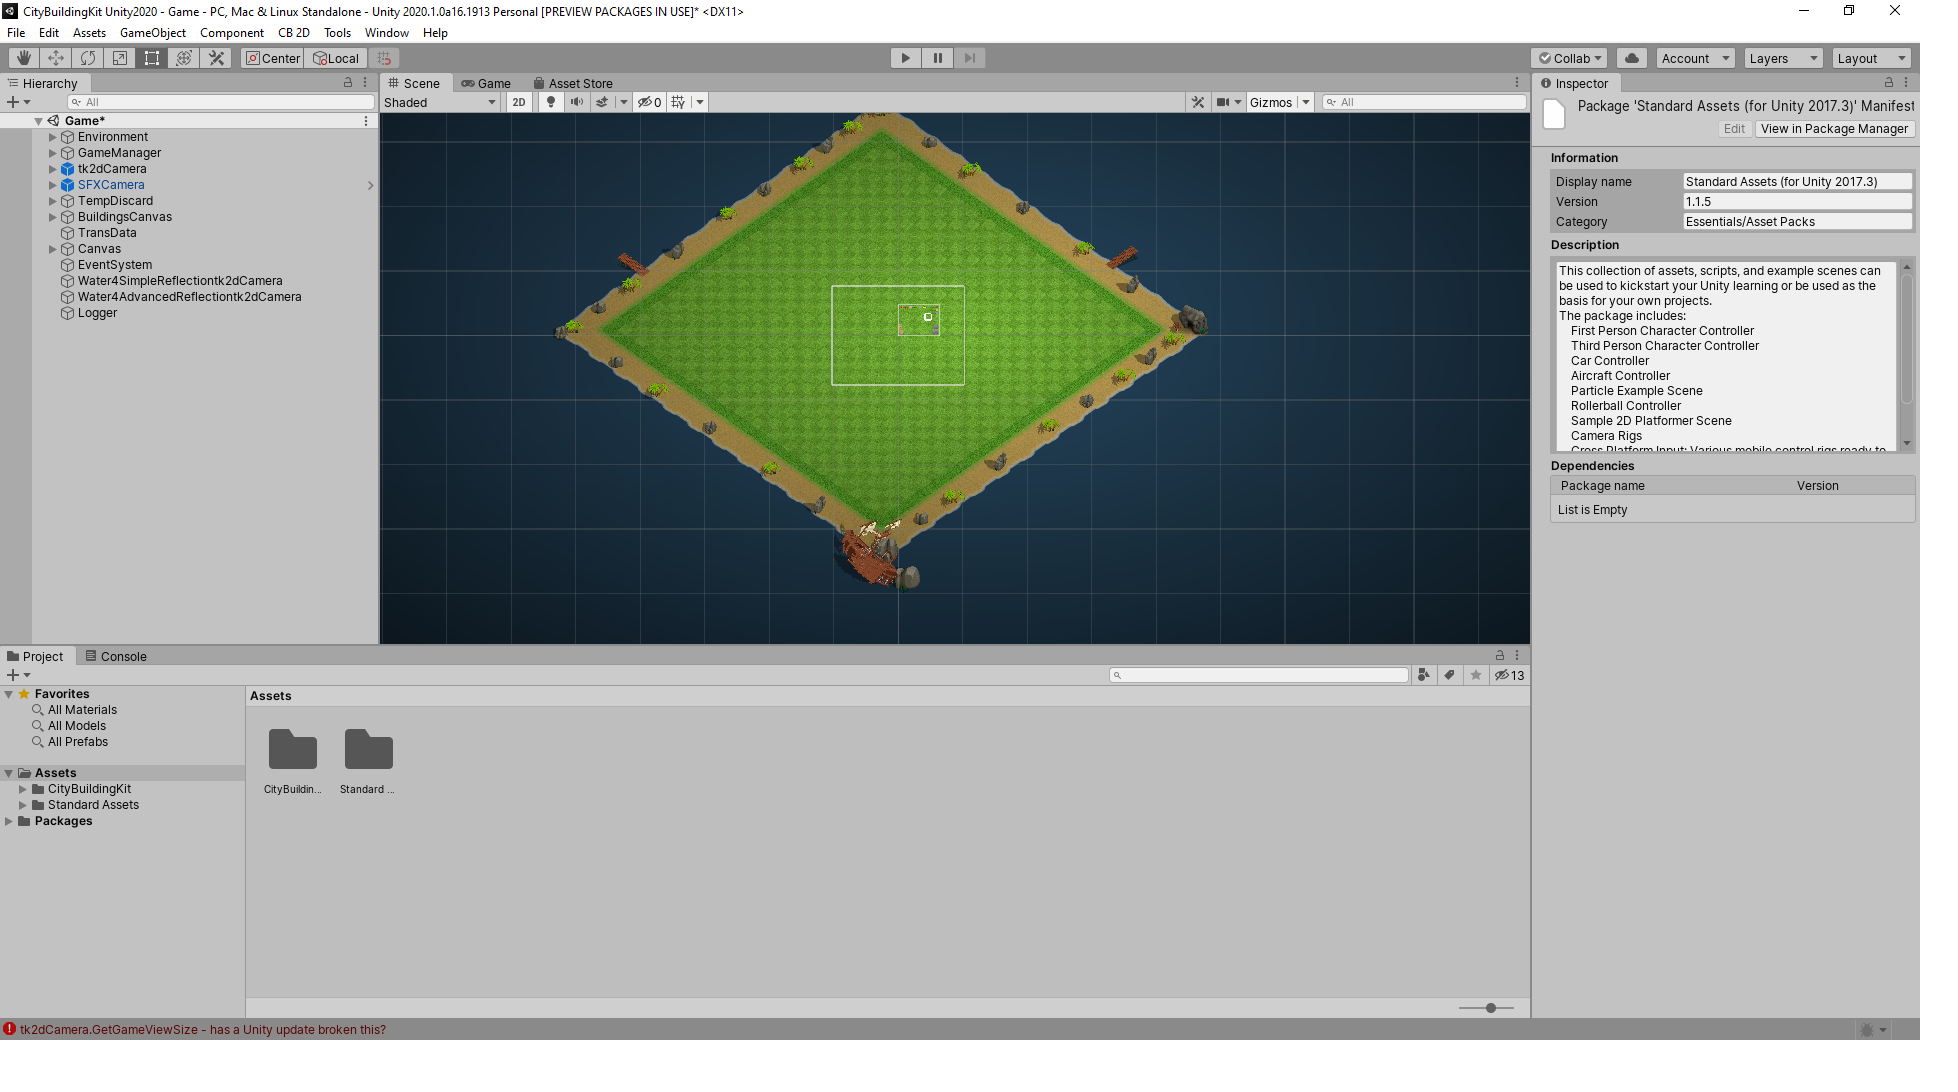
Click on image to view larger
Run the scene by pressing the Play button in the top center. (When playing on a PC, use the developer controls in the top left of the game to move or zoom or test on your device. Touch controls work much better than the arrow buttons for developers)
Tip: We recommend you use File > Build and Run... to test on your mobile device for native touch controls like scrolling, pinch, zoom, or drag-and-drop.
Don't see the screen above?
Troubleshooting Problems
Did you follow the instructions above and still don't see see the green checkerboard?
- Do you have the Game.unity scene open from the Scenes folder?
- Are you using a version of NGUI greater than 3.6? (Not the free version 2.7.0)
- Did you import both 2D Toolkit and NGUI in the ImportFrameworksHere.unity scene?
- Did you drop in SpriteKitLight?
Contact our support team if you're having trouble and we'll help you out.
Apart from the 5 troubleshooting questions above - if you see a screen like the example below, you'll need to press the 2D button at the top to go from 3D to 2D view. See the photo examples below:
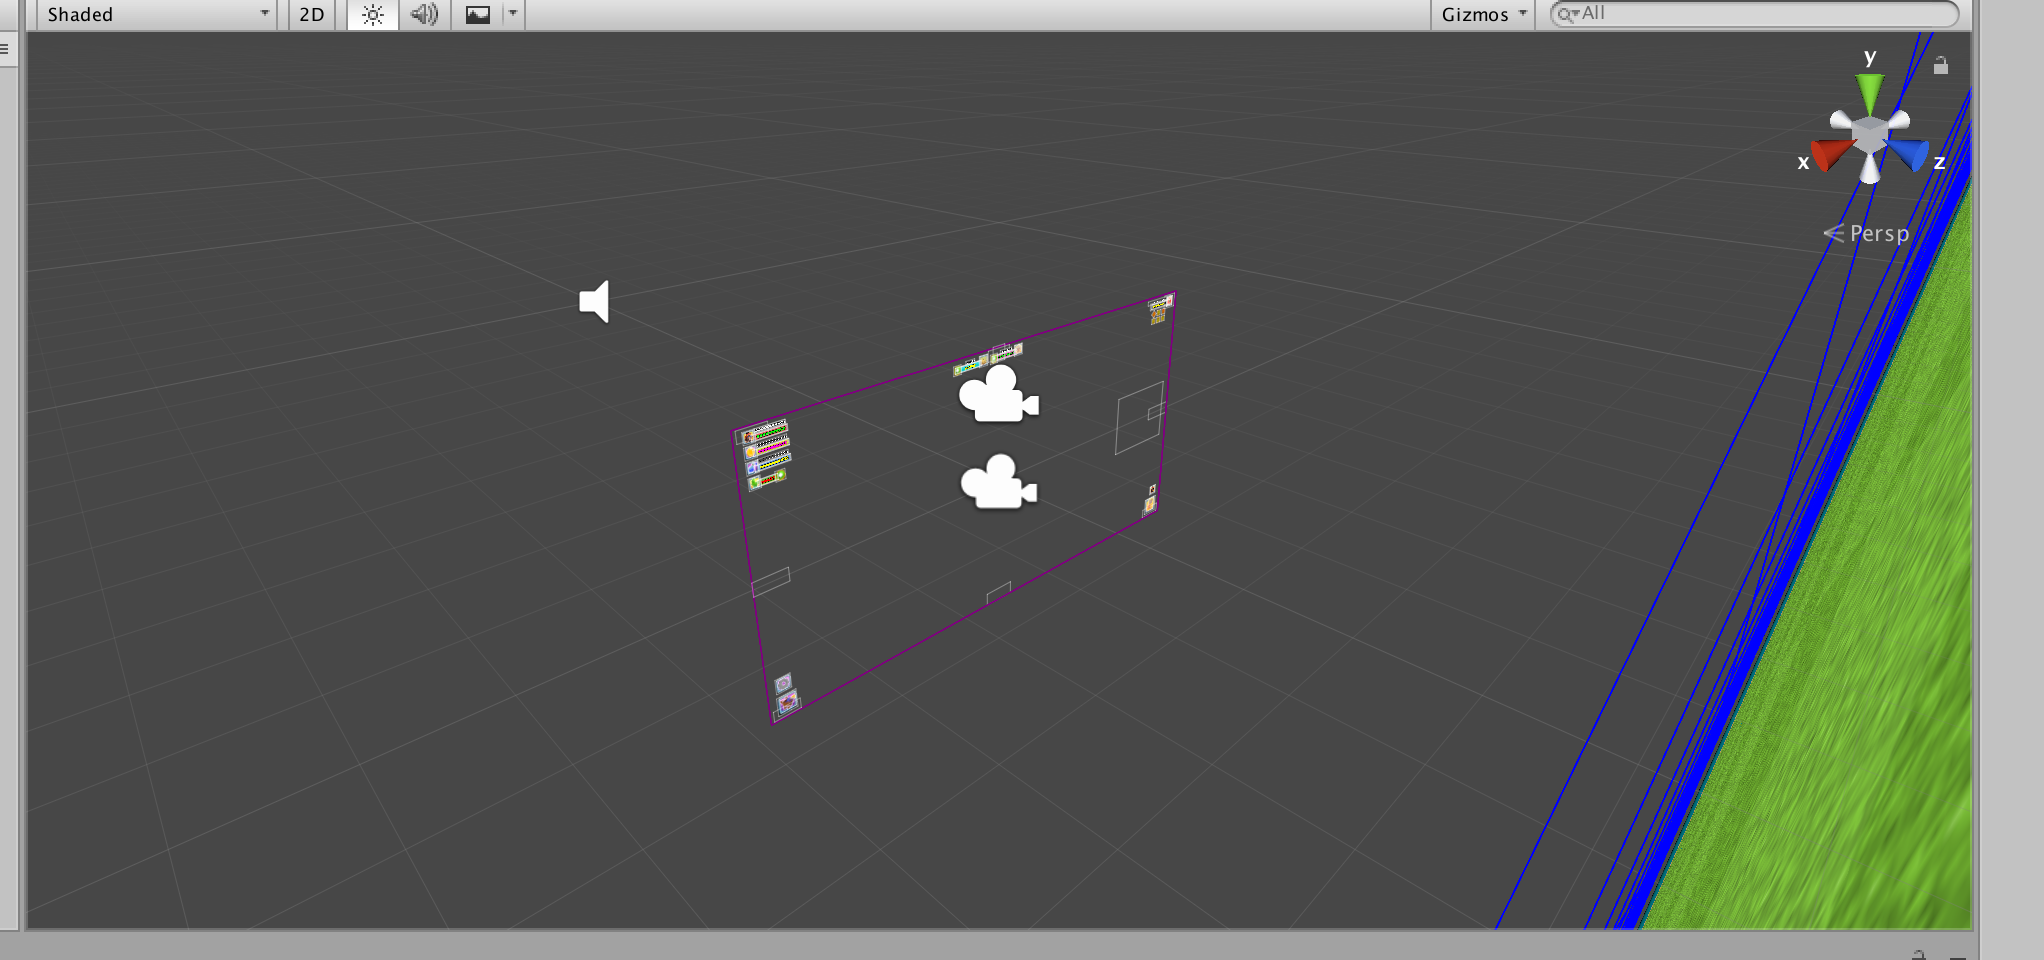
3D view, needs to switch to the 2D button at the top to change. Click to view larger
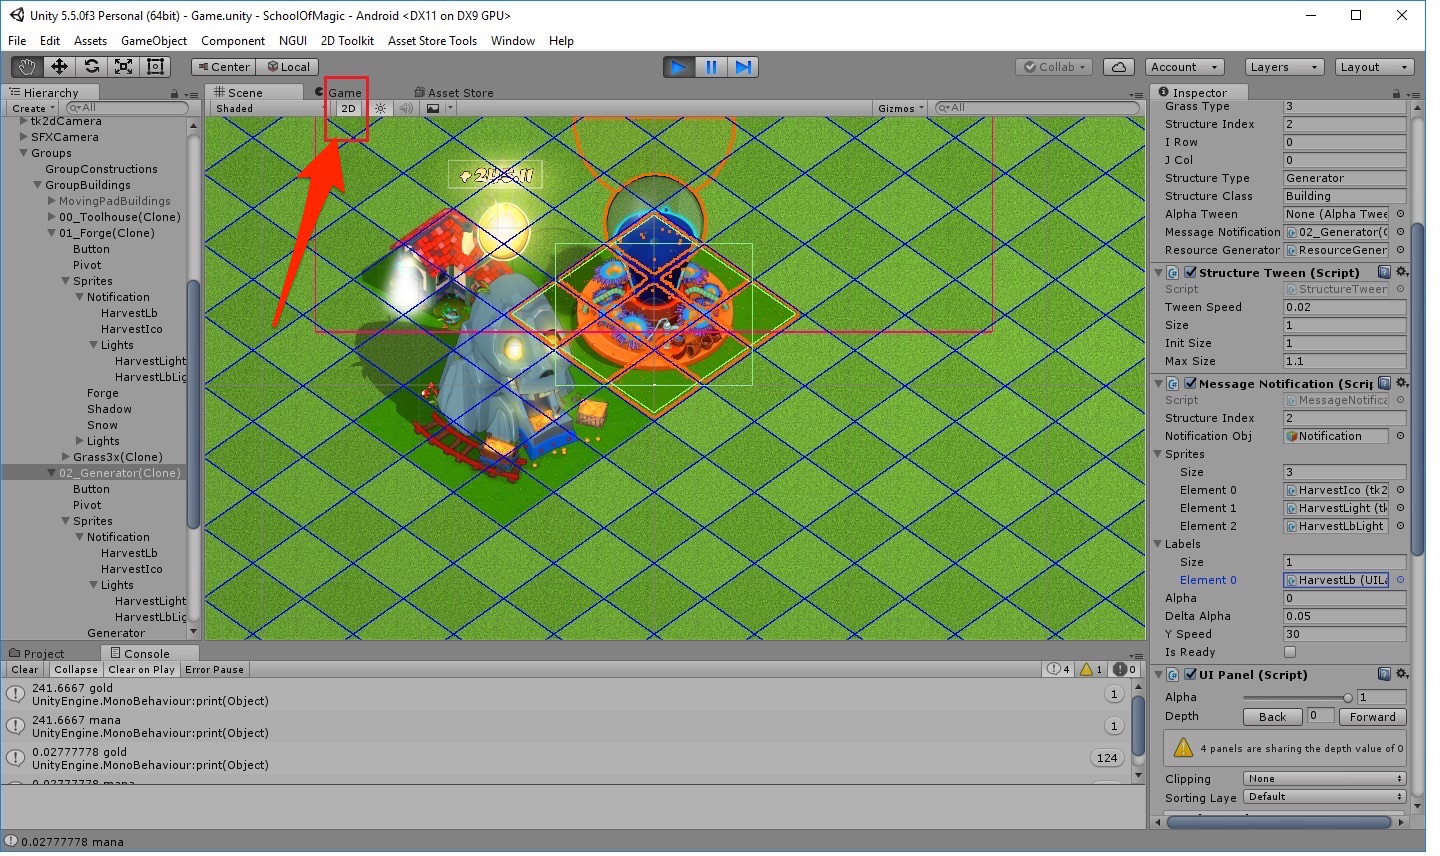
2D button at the top to see the game view. Click to view larger
How to Test PvP Battles after Installation.
Next, if you want to try out PvP Battles in the Complete Kit, follow the instructions below to add your License Code to both Game and Map01 GameManager > SaveLoadWWW and SaveLoadBattle Inspectors.
The kit is already setup to use our demo server scripts, but you need a license code to use them. Otherwise you will see the download file corrupted message below that says "License code not added to the Gamemanager or downloaded file corrupted."
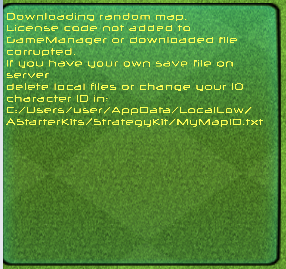
Click on image to view larger. See this error message when trying the battle feature? Follow the instructions below to add your license code.
When testing the competitions, if you get error message "License code not added to GameManager or downlaoded file corrupted" it means you haven't entered your license code into the kit's Game scene GameManager > SaveLoadWWW and more importantly, the battle Map01 GameManager > SaveLoadBattle.
- Open Game.unity scene
- In Game Manager, select SaveLoadWWW
- Type your License Code on the right side Inspector and save. (See screenshot below)
This will allow you to use the Settings > Server Save and Server Load options. Follow steps 4-6 below to be able to use online battles.
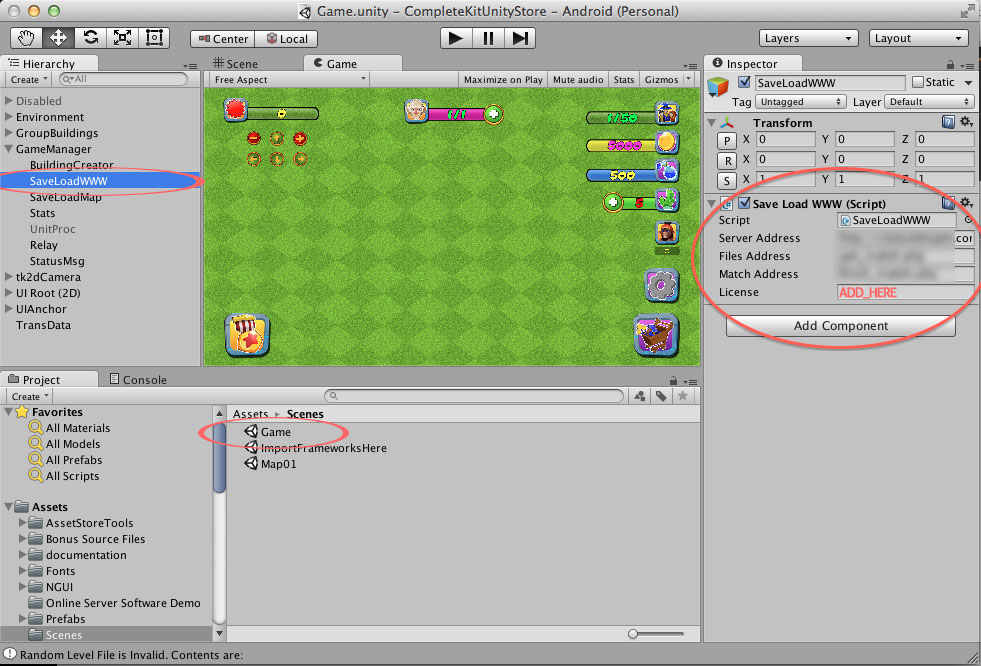
Click on image to view larger. Add the license code to Game > GameManager > SaveLoadWWW
For Battles:
4. Open Map01.scene
5. In Game Manager, select SaveLoadBattle
6. Type your License Code on the right side Inspector and save. (See screenshot below)
Now you should be able to run the scene again and download a sample map successfully from the preconfigured CityBuildingKit.com server.
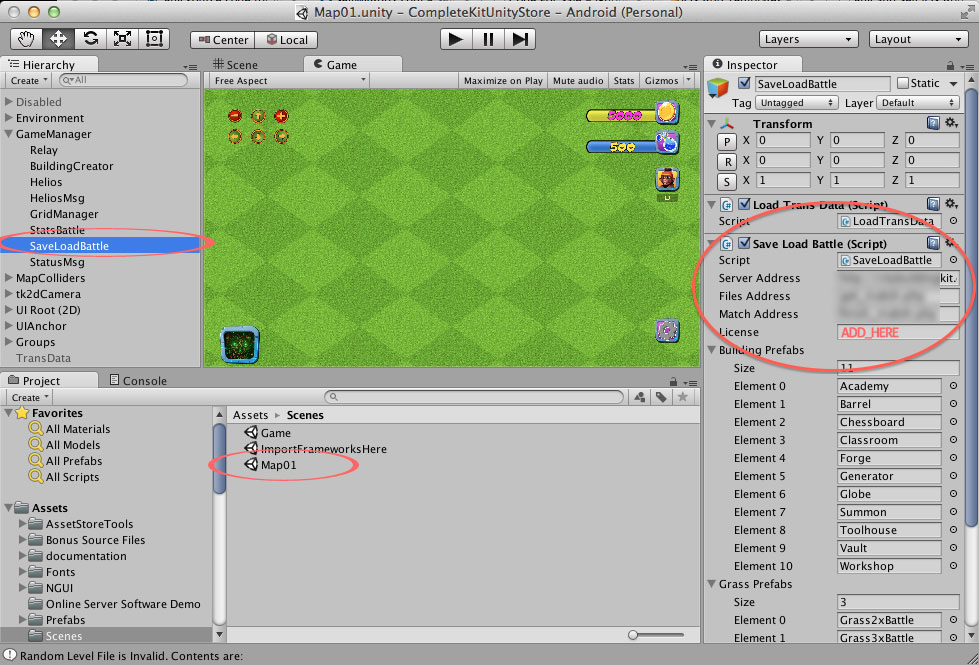
Click on image to view larger. Add the license code to Map01 > Game Manager > SaveLoadBattle
What maps does the CityBuildingKit.com demo server provide?
By default, the demo server will return 1 of 3 sample enemy player maps. If you experiment with Server Load, it will download the same pre-designed base every time for testing. These are configured with the kit's default buildings. If you begin making changes to your game such as new buildings or units, use the server scripts on your own domain or else crashes could occur when the demo server provides default kit enemy player map data.
Login to to get a copy of the server scripts for your own website. Then repeat the instructions above but change the http://citybuildingkit.com Server Address to where you uploaded your own script like http://yoursite.com/pvp/
Want to test the server scripts on your own website?
Download the server scripts from the CityBuildingKit.com Customer Download Center.
Upload the PvP Server Sync scripts to your web host. You can download these scripts from our download center and upload to your website like http://yoursite.com/pvp/
Then update the URLs and license used for both Game scene GameManger > SaveLoadWWW inspector and Map01 scene GameManager > SaveLoadBattle inspector.
Add your License code to both the Game and Map01 scene GameManagers
If you're not using our demo server but using your own website change the http://citybuildingkit.com Server address to where you uploaded the script files on your site.
All you need to do is change the URL to the folder you uploaded like:
http://yoursite.com/pvp/
Updated less than a minute ago
